ORIGINALLY POSTED BY CHERYL PHAN ON HER FAUX FINISHING BLOG
Learn How to Take Your Own Professional Pictures with These 4 Tools and Save Hundreds of Dollars
Oct 25, 2020
You don’t need to spend a ton of money on a professional headshot. And taking your own professional pictures is easier than you might think.
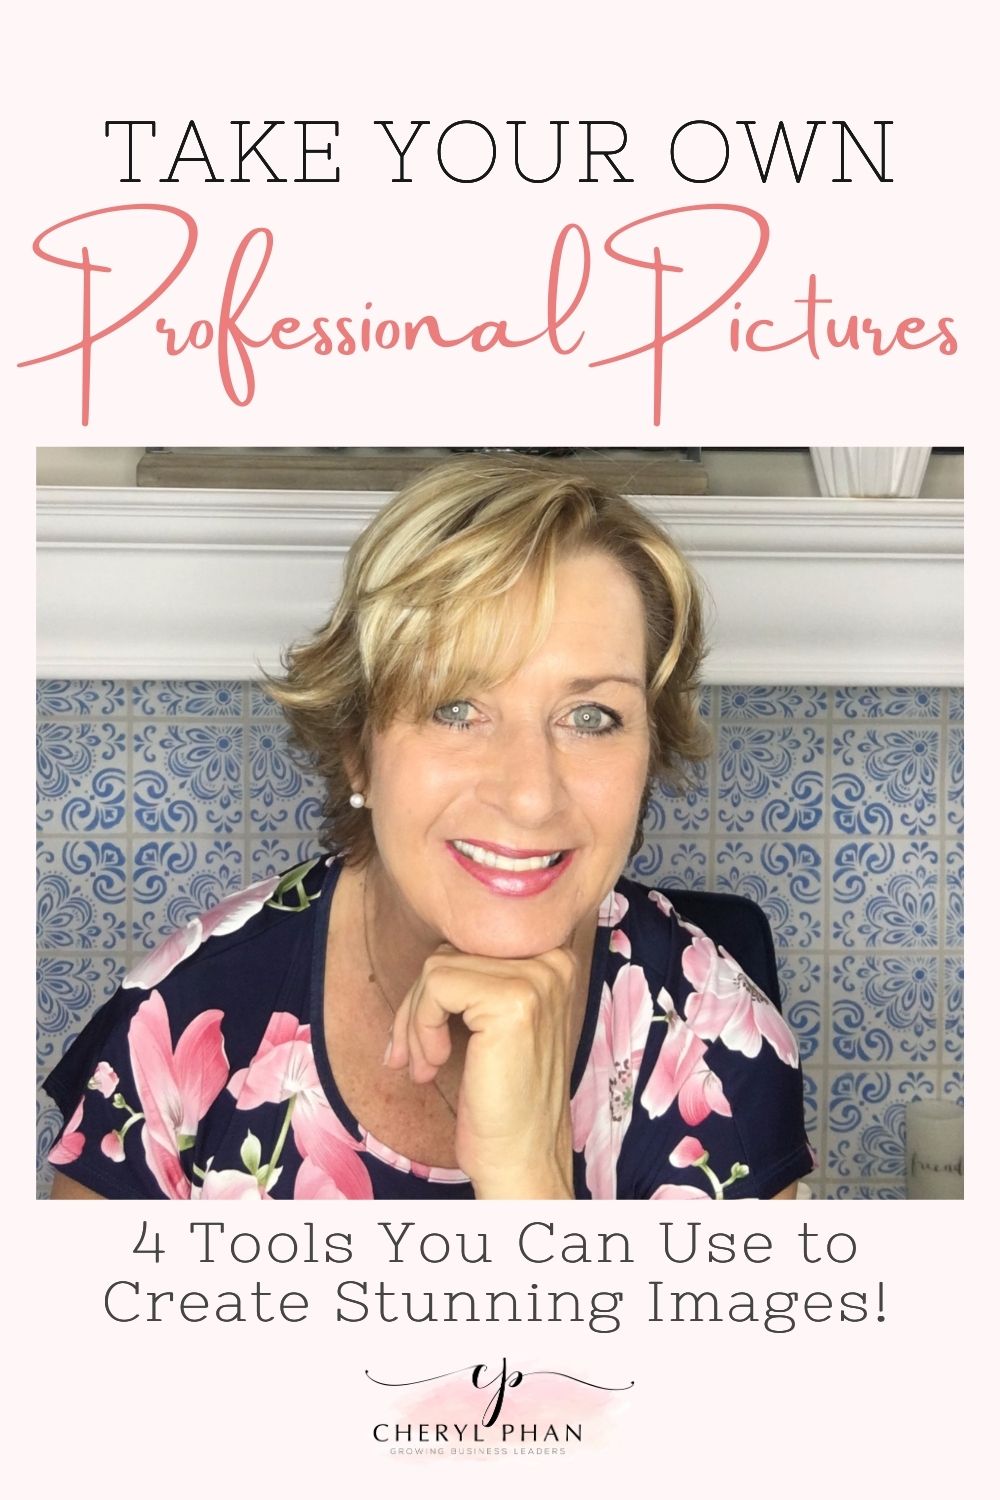
I took this one of myself with my cell phone and a few other tools.
I remember a few years ago I hired a professional photographer to take some pictures of me for my marketing materials and social media platforms.
I spent hundreds of dollars and the entire day trying to get the perfect pictures.
He must have shot over 200 photos and to be honest with you, I only used two of them.
So, I figured out how to do it myself and I’m going to share it with you.
Related Post: How to Look 10 Years Younger on Your Profile Picture
I live alone and don’t have someone to keep taking pictures of me. So, I had to come up with a way to do it myself.
Here are the four things I use to take my own pictures
#1: My cell phone
Everyone these days has a cell phone and they take great pictures. I don’t know anyone who uses a camera anymore.
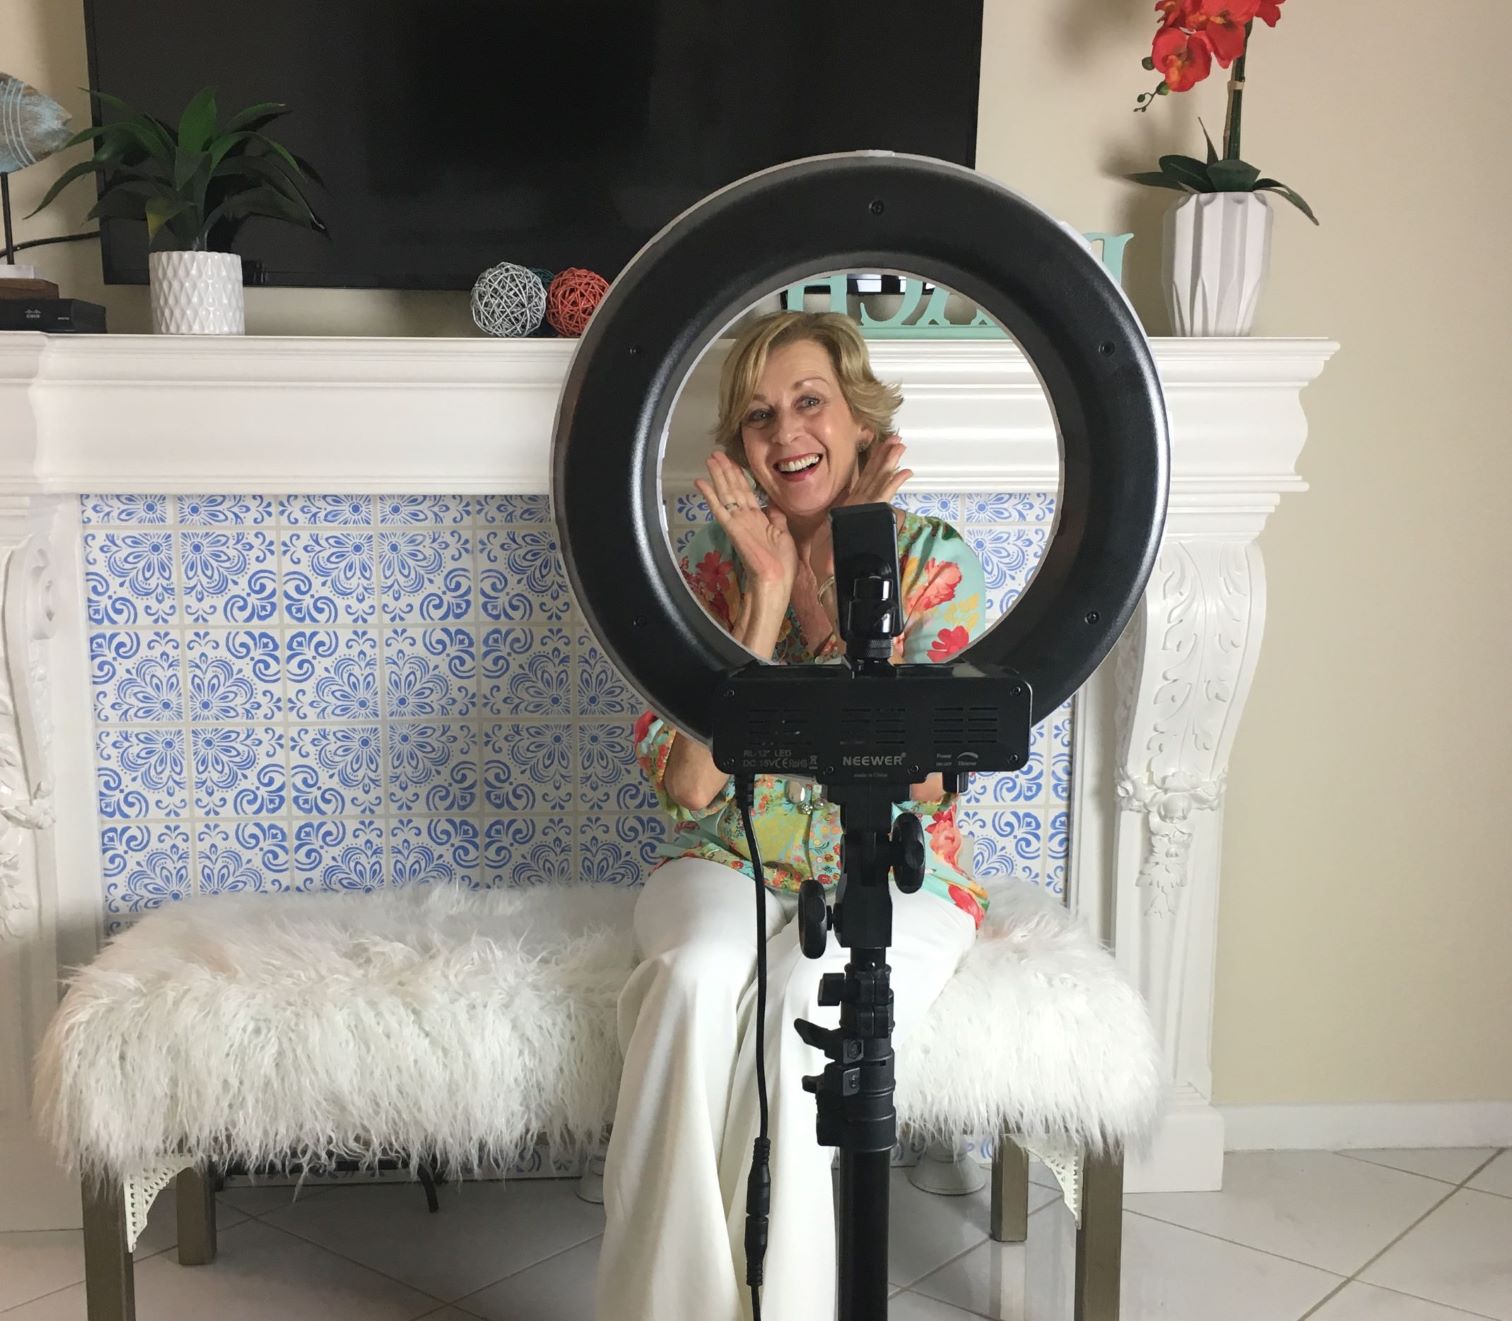
#2: O-ring Light
This gadget is the best thing since bubble gum. Lighting is everything when you’re taking pictures and this light is the bomb.com.
It will take years off your face. Seriously, when you get yours, take a picture without the light and then take one with the light. You’re going to love the results.
The light comes with a stand and a phone holder.
I set mine up in front of my fireplace to create a nice backdrop.
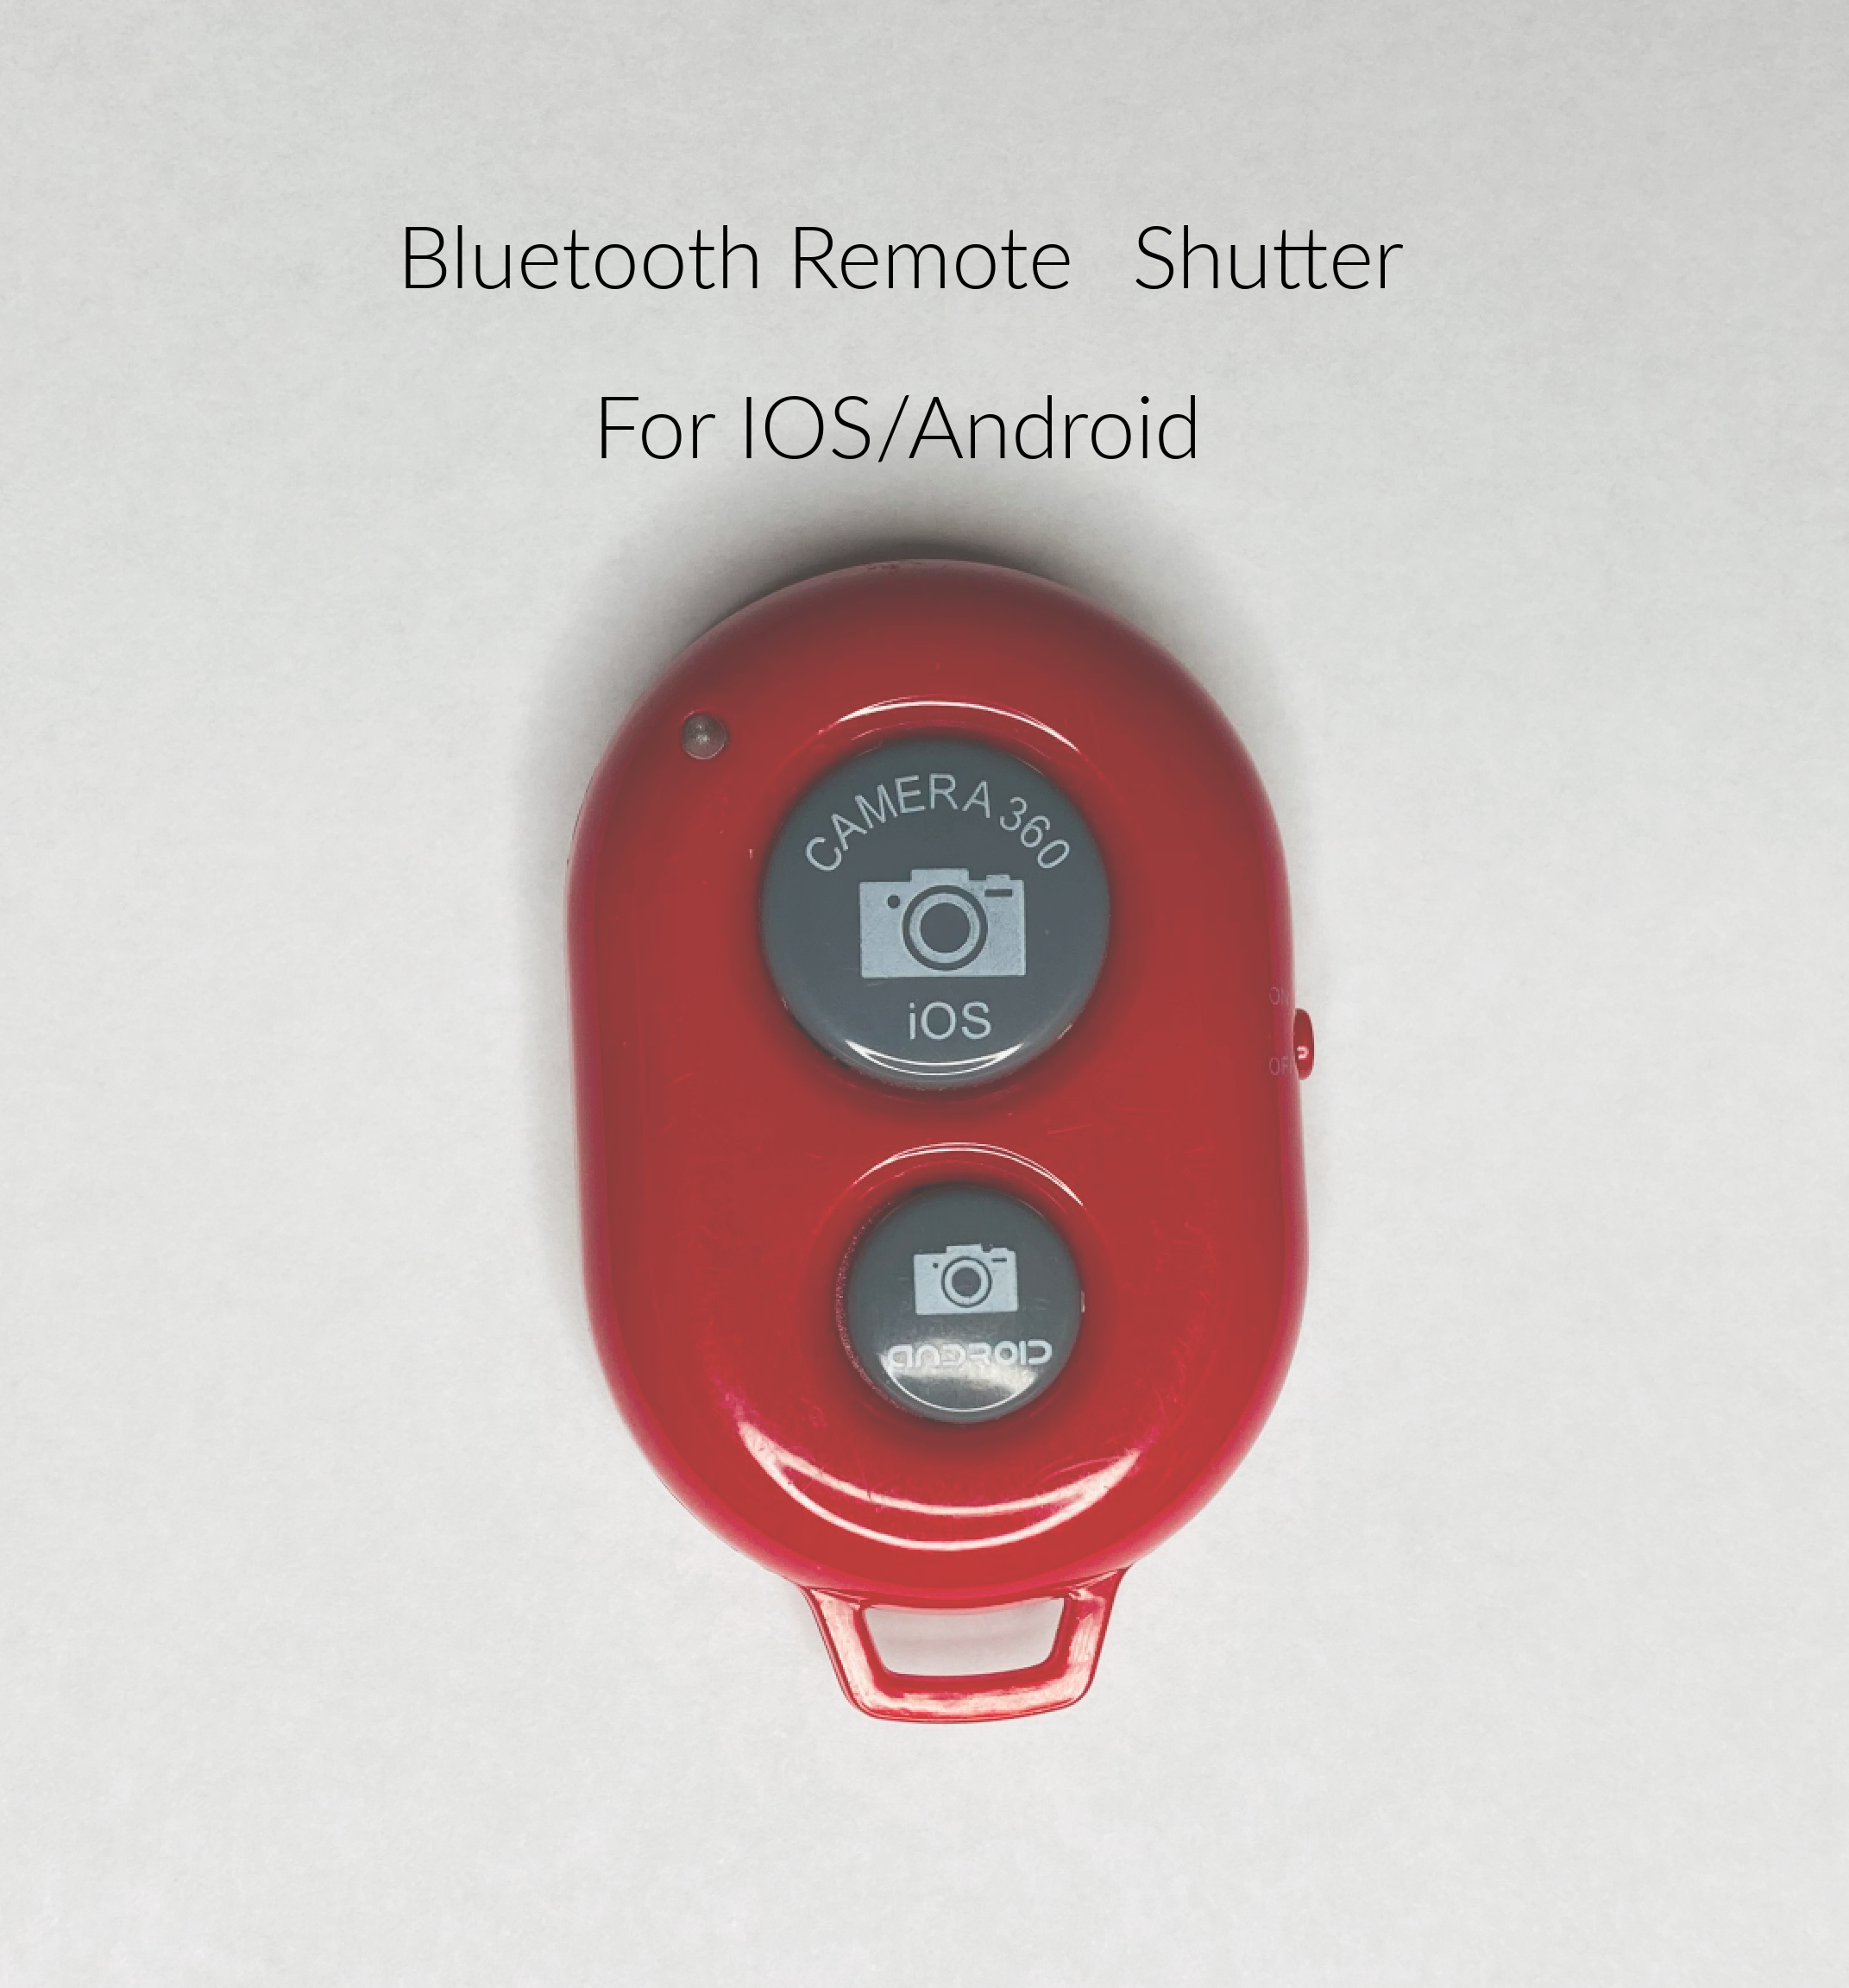
#3: You’re going to need a Bluetooth Remote Shutter
Whoever invented this thing was a genius. All you have to do is sit in front of the phone and click away.
The fun part about doing this on your own is you can get as silly as you want and not have to worry about who’s watching you.
Stick out your tongue and make funny faces!
#4: If you don’t have a wall in your house that has a nice backdrop here is another alternative
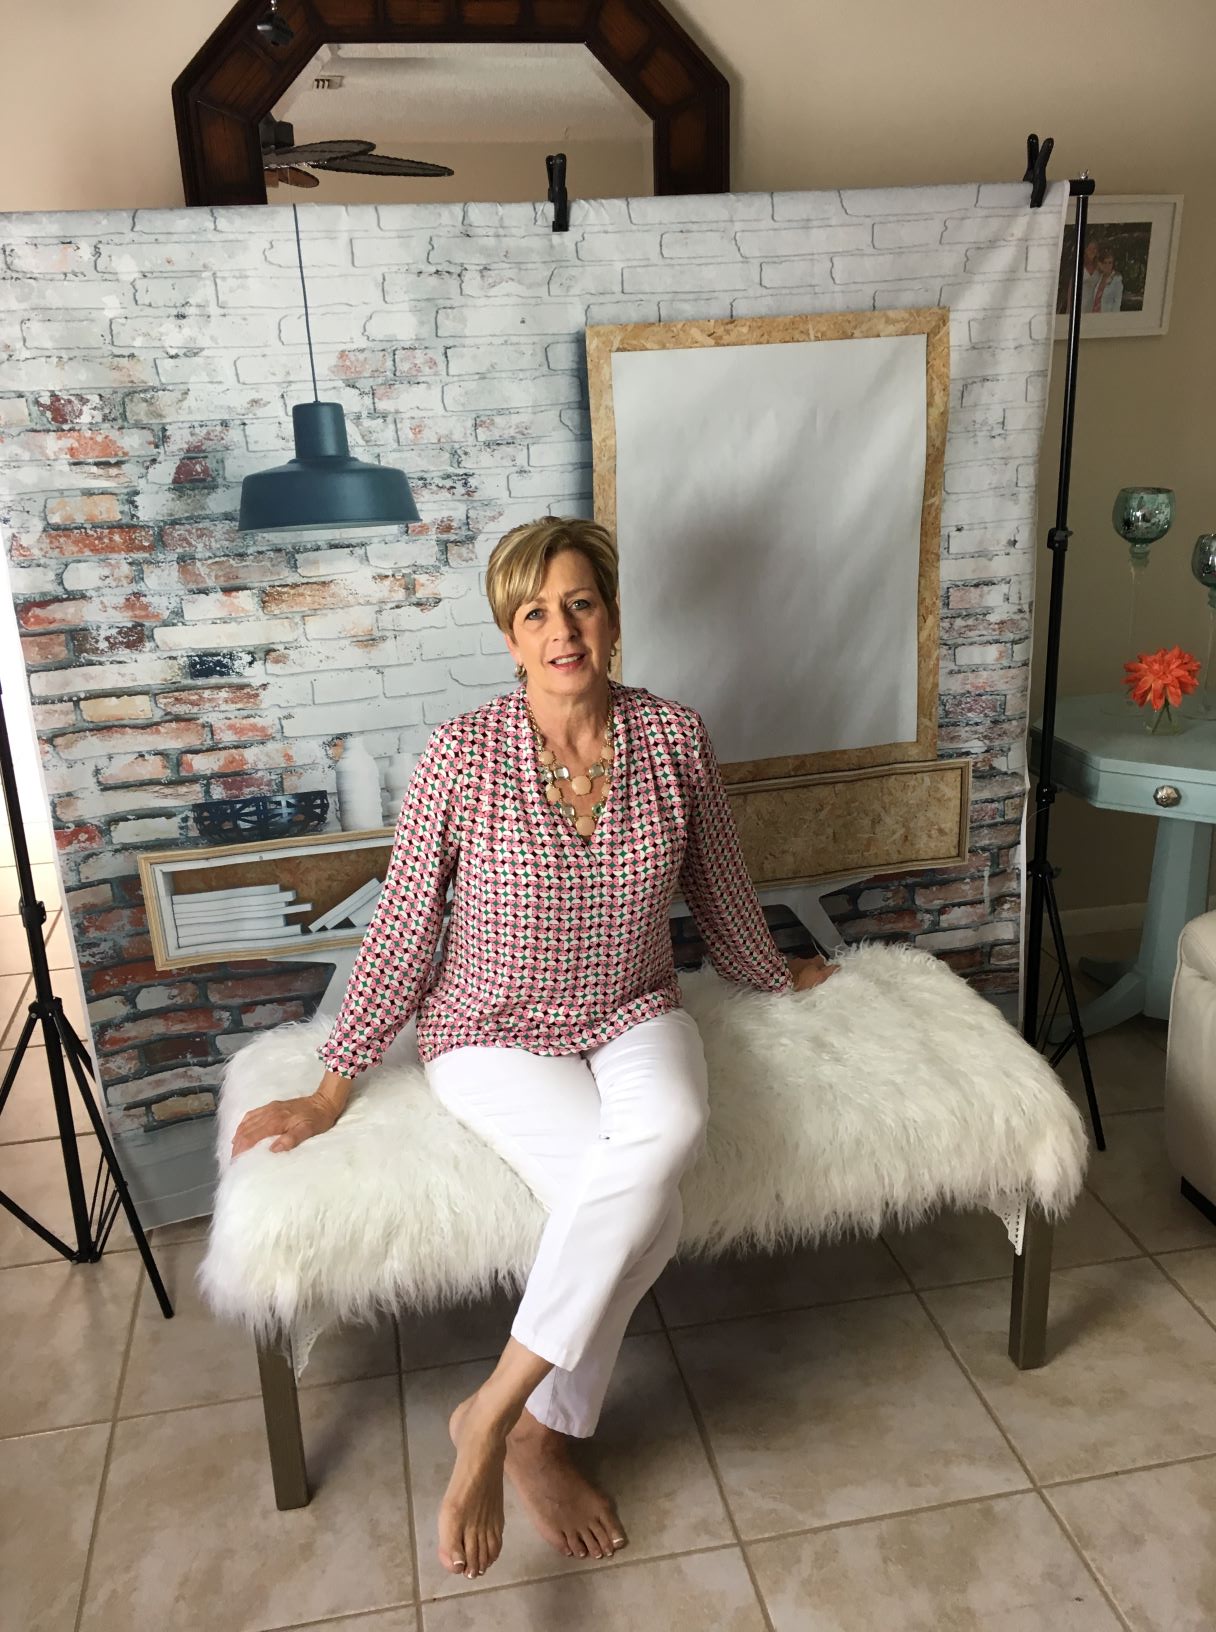
You can buy a backdrop to sit in front of. This is one of many that I have. Sometimes I like to change it up a little.
You will need to get the stand separately and then order the backdrop you like.
Here is a backdrop that I have.
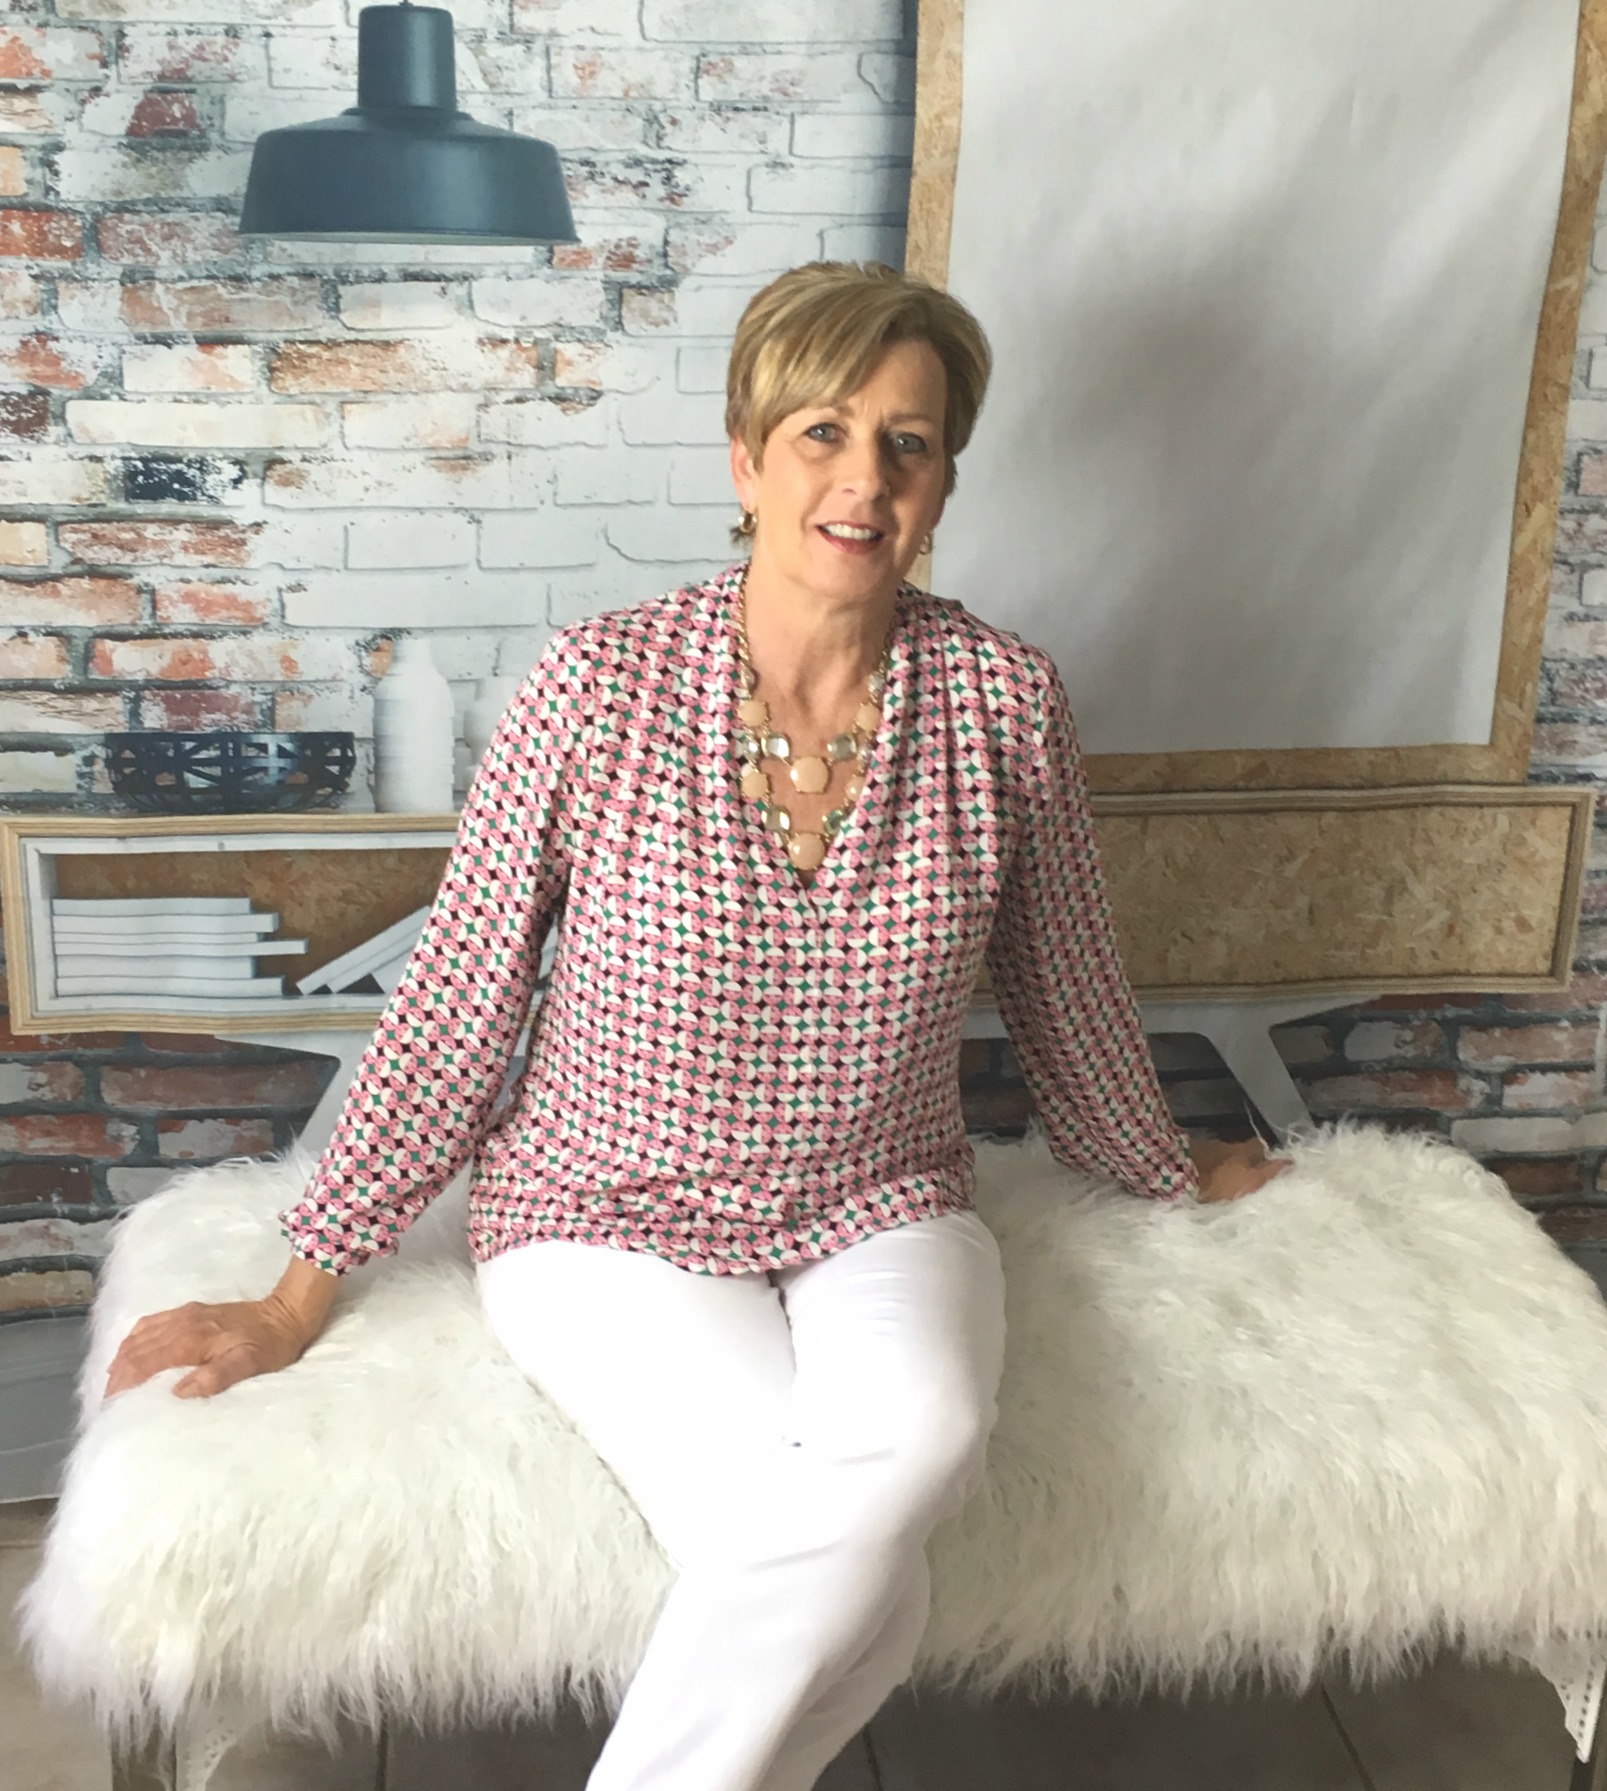
Don’t worry that you can see everything around it. I’m going to show you how to edit it and make it perfect.
After I’m done, I select the picture I want to use and upload it to Canva. They’re editing tools where I edit all my pictures. Just an FYI, they do charge a fee, but it’s worth it if you plan on editing lots of pictures.
You can also search Google for free editing tools, but they have limitations on what you can do
If you want to learn more Tricks and Tips get my weekly blog HERE.
P.S. Are you ready to turn your hobby into an online business? Get the details HERE
See Ya on the inside!
Blessings,
Cheryl


